Whether you’re brand new to DIY Lash Extensions, or you’re looking to improve your technique, we’re here to help you get the lashes you desire. Here are some hot tips and tricks from the lash pros at Lashify®.
1. Choose a Lash Style That Complements Your Eye Shape
Eyes come in all shapes, sizes, colors, and face settings — everyone’s eyes are different! No matter what your eyes look like or what your personal style preferences are, there’s a perfect lash map for you.
Finding the right lashes for your eye shape may sound hard, but Lashify has the expert advice you need. As a general rule, the goal is to emphasize the best features of your face and maintain a balance.
For example, if you have wide-set eyes, you don’t want to use very long or dense lashes on the outer corners of your eyes because this will make your eyes seem even wider-set. Another example: if you have upturned eyes, feathery lashes at the outer edge will emphasize your natural cat eye.
2. Experiment With Your Lash Map
To lengthen or to lengthen even more? That is the question. To increase volume or maintain a no-frills classic lash? That is another question.
Whatever your original style, don’t be scared to mix it up. Maybe you’ve found the perfect lash look for your professional office days, but what about a more dramatic look for events and special occasions?
A little hesitant to move from classics to volume? Volume lashes from Lashify are best paired with classic lashes, so there’s no need to reinvent the wheel or your entire lash map. Try starting with a small step of adding just a touch of volume Gossamers® to your usual classic lash map to see how you like it.
Already into volume and looking to go even more eye-catching? Try a colored lash, maybe a violet or a teal from our Prismatics collection. With eight vibrant colors to choose from, you’ve got a whole palette to paint with.
Eyelash extensions give you unlimited artistic potential. There’s a reason we call them lash artists. Don’t be scared to get creative and try new things; you never know what you’ll love.
3. Always Apply Your Lashes to Clean, Dry Eyes
Hygiene before, hygiene during, and hygiene after. Maintaining good hygiene around the eyes, means daily gentle cleansing to remove dirt, bacteria, and other debris, and it is absolutely critical to maintain eye health. If there’s bad bacteria present when the bond is applied, you’ll bond it to your lash line just like your lash extensions. Ick!
Your lashes will not bond correctly to wet eyes. Use a lash fan, blow tool, gentle cloth, or just patience to dry your lashes before applying. Your lashes will thank you later.
4. When You Apply Your Lashes, Look Down
For a video tutorial of this technique and many others, our Lashify experts put together a super helpful video series. The best way to apply your lashes is by looking down into a mirror. If you find that your compact is too small or your lighting is making it difficult, Lashify offers an LED Infinity Mirror to make this lash hack even easier.
5. Don’t Use Too Much Bond
A little bit of bond goes a long way. It may take a little practice to determine how much bond is the right amount to secure your lashes at your activity level, but a good rule of thumb is a millimeter-thick line along the spine of your lash.
Using a bond applicator with a precision tip is a lifesaver. Before application, you can apply the bond either to the spine of the lash or directly along your lash line, whichever you find easier and cleaner.
Using too much bond will result in excess leftover bond dried to your natural lashes and lash line. It may also make removal more time-consuming. Neither of these outcomes is devastating, but they certainly are inconvenient and a waste of remover. May as well avoid the issue in the first place by using a smaller amount of bond.
6. Keep Oil Away From Your Lashes
Oil will make your bond disintegrate. Therefore, while wearing eyelash extensions, stay away from eye creams and other skincare products that contain oil, cleanse your lashes regularly to absorb natural body oil, and don’t touch your lashes.
Once more, for emphasis, don’t touch your lashes! Even if they feel funny, resist the urge to tug, caress, poke, or otherwise handle your eyelash extensions.
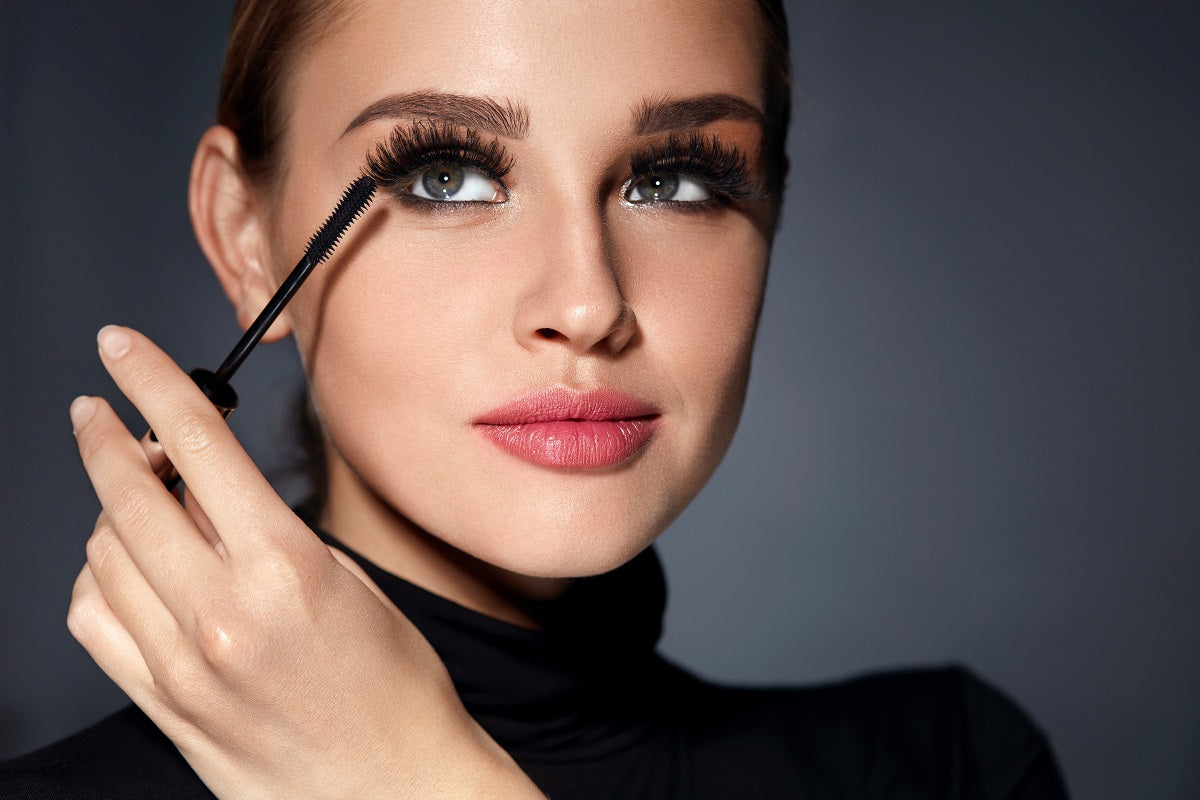
7. Mascara No More!
Don’t apply mascara to your eyelash extensions. This will not only weigh down your lashes but invite bacteria and debris to make a home on them. The purpose of DIY eyelash extensions is to do more than mascara can, so please let your lashes do their job.
If you find yourself constantly wanting to apply mascara for extra volume, that’s a surefire sign you need to update your lash map to include more volume lashes. Ask yourself what you would want from your mascara: intensity? A soft and fluttery look? Piecey lashes? After you assess your goal, you’ll be able to select the right style of Gossamer to reach it.
8. Don’t Wet Your Lashes Within the First 24 Hours of Application
It’s best to avoid the shower completely during the first 24 hours after your application. Wetting your lashes before they’ve had a chance to cure completely can disrupt the bond and affect the longevity of your lashes.
If you absolutely must shower in the first 24 hours, keep it cool. Steam from hot water can also damage your lashes. In general, even after the first 24 hours, it’s best to avoid exposing your lashes to steam.
Try to remember to shower before applying your lashes. Remember, you want a clean canvas on which to create art. However, if you must shower before your lashes totally cure, use a Lashisplash, which is a cute little disposable, self-adhesive lash visor for each eye.
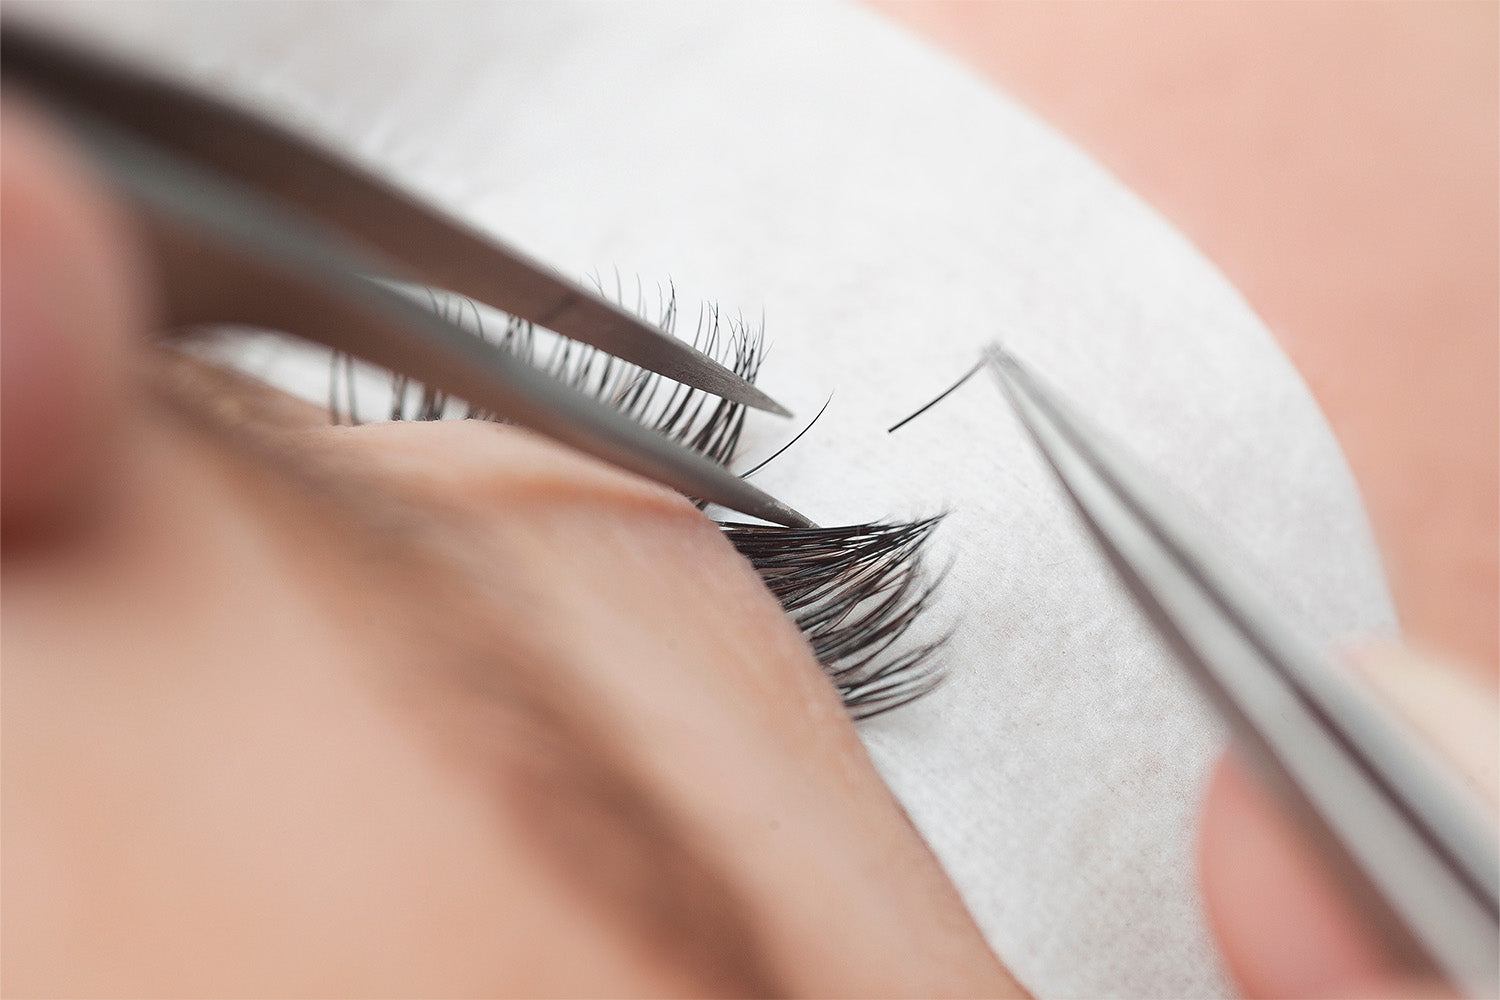
9. Use the Right Tools
A painter wouldn’t paint with a lump of clay, and a sculptor wouldn’t sculpt with a primed canvas. Every tool in our lash extension arsenal has a purpose, so for best results, use the tool meant for the job. The number one tool is the Fuse Control® Wand, which will help you get a perfect application every time because it was designed with care.
It will fit the curve of your cheeks and nose for maximum precision. Not only was this tool made to fuse your Gossamers, but it’s also the last pair of lash tweezers you’ll ever need.
Another critical tool is something as simple as a sturdy case to store your lashes in when you’re not wearing them. Nothing kills the longevity of a false lash like improper or careless storage. Lashify offers three different sizes of storage to meet your needs, whether you’re at home or on a trip. We want to help you take good care of your Gossamers on and off your face.
10. How To Fix Lifting Lashes
If you’ve had your lashes on for a few days, and you’re starting to notice your extensions lifting away from your lash line, don’t fret. You don’t need to start over; there are a few simple tricks to re-fuse your lashes.
First, try a simple, quick fuse with your wand. Sometimes, there's enough usable bond left under the spine of the extension that all it needs is a little pushback in place.
If that doesn’t work, use some bond, like Whisper Light Bond™, with a precision tip applicator and carefully apply a few dots of bond to the underside of the lifted spine. Be careful not to coat your natural lashes in the process.
Wait for this bond to get tacky, as you would for an initial application, then use the wand to do a reverse fuse. A sign that the bond is ready to fuse is the Whisper Light turning from white to clear.
Don’t Be Scared To Level Up
As you may have seen in our video series, Lashify techniques can be divided into two basic categories: Level 1 and Level 2. Once you’ve gained confidence with the Level 1 techniques, don’t just stay in your comfort zone! Check out some of our Level 2 techniques, like brick-stacking and volume-stacking, to maximize your lashes.
Intrigued? Okay, we’ll give you a little volume-stacking sample. Essentially, volume stacking is applying two layers of lashes spine-to-spine. Apply a base layer of classic lashes and fully fuse before proceeding. Next, apply a thin line of clear Whisper Light along the spines of the base layer of lashes. Then, take another layer of classic eyelash extensions, apply along that line, and fuse.
Volume stacking is great for adding zest to your week-old classic lash map when Friday night comes around without removing and starting over with all new lashes.
Looking for more? Subscribe to our YouTube Channel or browse our blogs. If you have lash questions, Lashify has answers.
Sources:
Eyelash Extensions Guide: the Cost, How Long They Last, Before and After Photos | Harpers Bazaar
What's My Eye Shape? (Learn How to Tell Here) | Vision Center
Eyelash Extensions 101: Everything You Need to Know Before Your Appointment | Cosmopolitan