Professional makeup artists have mastered the ability to create healthy, super fresh and barely-there glam. And who doesn’t want all the dirty secrets to attain that flawless look? It consists of technique, skill, and many steps involved in order to achieve it. Here are some great application tips and tricks to apply makeup like a pro! Let’s start with the foundation of good application: tools.
TOOLS
Think of tools as your best friends. The Bonnie to your Clyde. The peanut butter to your jelly. Not only can they make the job of applying easier, but they can ensure the finished look is impeccable. Here are the favorites I keep in my kit.
My go-to brushes: Morphe - MUA Life Brush Collection $78 ($217 value)
This army of brushes has you covered. Any and every brush you will ever need to apply anything from foundation to shadows to powder is right here. And at a mind-blowing price.

My go-to sponge: Beauty Blender - Blender $20
If you are not familiar with this little workhorse, let me introduce you. This cult-favorite sponge is the #1 best-selling for a reason: soft, latex-free, and blends makeup for a flawless finish.

More affordable alternative: Juno & Co - Storm Cloud Makeup Sponge ($5)
The ergonomic design of this sponge features a flat top for a great grip when it comes to hard-to-reach areas. Blends perfectly and for a mind-blowing price.

PRO TIP: hygiene is critical when it comes to tools.
Shampoo your brushes and sponge after each use. Here are some great products that will clean and disinfect your tools, keeping them in good shape and looking brand new every time.
My go-to cleanser: Beauty Blender - Blendercleanser ($30)
My go-to alcohol: Amazon - 91% Isopropyl Alcohol ($8)
My go-to brush cleaner: Cinema Secrets - Makeup Brush Cleaner ($25)

.
And now, onto the next! A step by step guide through applying makeup, like a pro.STEP ONE: PREP
The correct prep sets you up for success, so it is important to always begin with a fresh, clean face. Having your skin cleansed with a gentle cleanser and moisturized with a lightweight gel or cream moisturizer will give you the best base for makeup application. 
STEP TWO: PRIME
There seems to be controversy around priming, and whether or not priming the skin has any benefits. That being said, primers have come a long way and offer many different benefits for making the face a clean canvas to work with. Priming can diffuse the look of large pores, blur or fill in fine lines and wrinkles. There are primers that help brighten, bronze, and tone the skin. Other primers can firm and lift the skin, offering hydration and oil control.
Pro tip: Apply primers with a flat foundation brush or sanitized hands. Begin with the t-zone and lightly spread product upward and outward. A small bit of primer goes a long way. If the product begins to clump or pill on the skin, it is a sign that you are using too much.

STEP THREE: EYES
This may seem like a strange place to begin when it comes to makeup application. But, in fact, the plus side to starting with eye makeup first is simple: room to play. You can get as creative as you want, and even make a little mess without any worry. Why? Because you are not disturbing any makeup around the under eye area or cheeks.
Pro tips for a contoured eye: Apply a matte brown shade on the crease and outer corner of the eyelid. If you want to keep with a polished look that enhances your natural features, apply a matte or light shimmer shadow on the entirety of the eyelid, the inner corner of the eye and under the brow.
Pro tips for eyeliner: Use a kohl liner along the upper lash to create a smoky look around the eyes, however subtle, by smudging out with a pencil or definer brush. Keep liner and shadow to a minimum on the bottom waterline as it can create a closed off look that makes the eyes appear smaller.
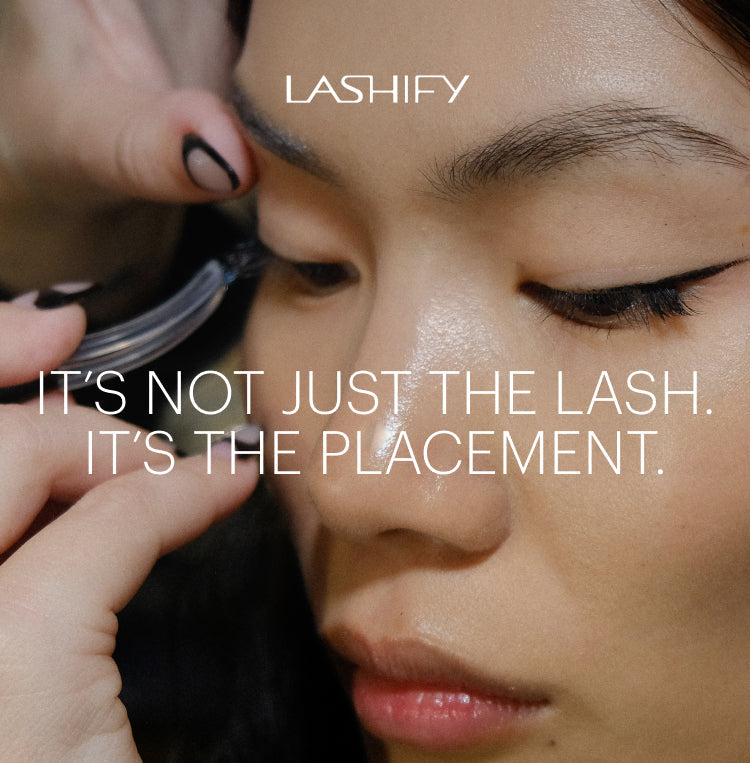
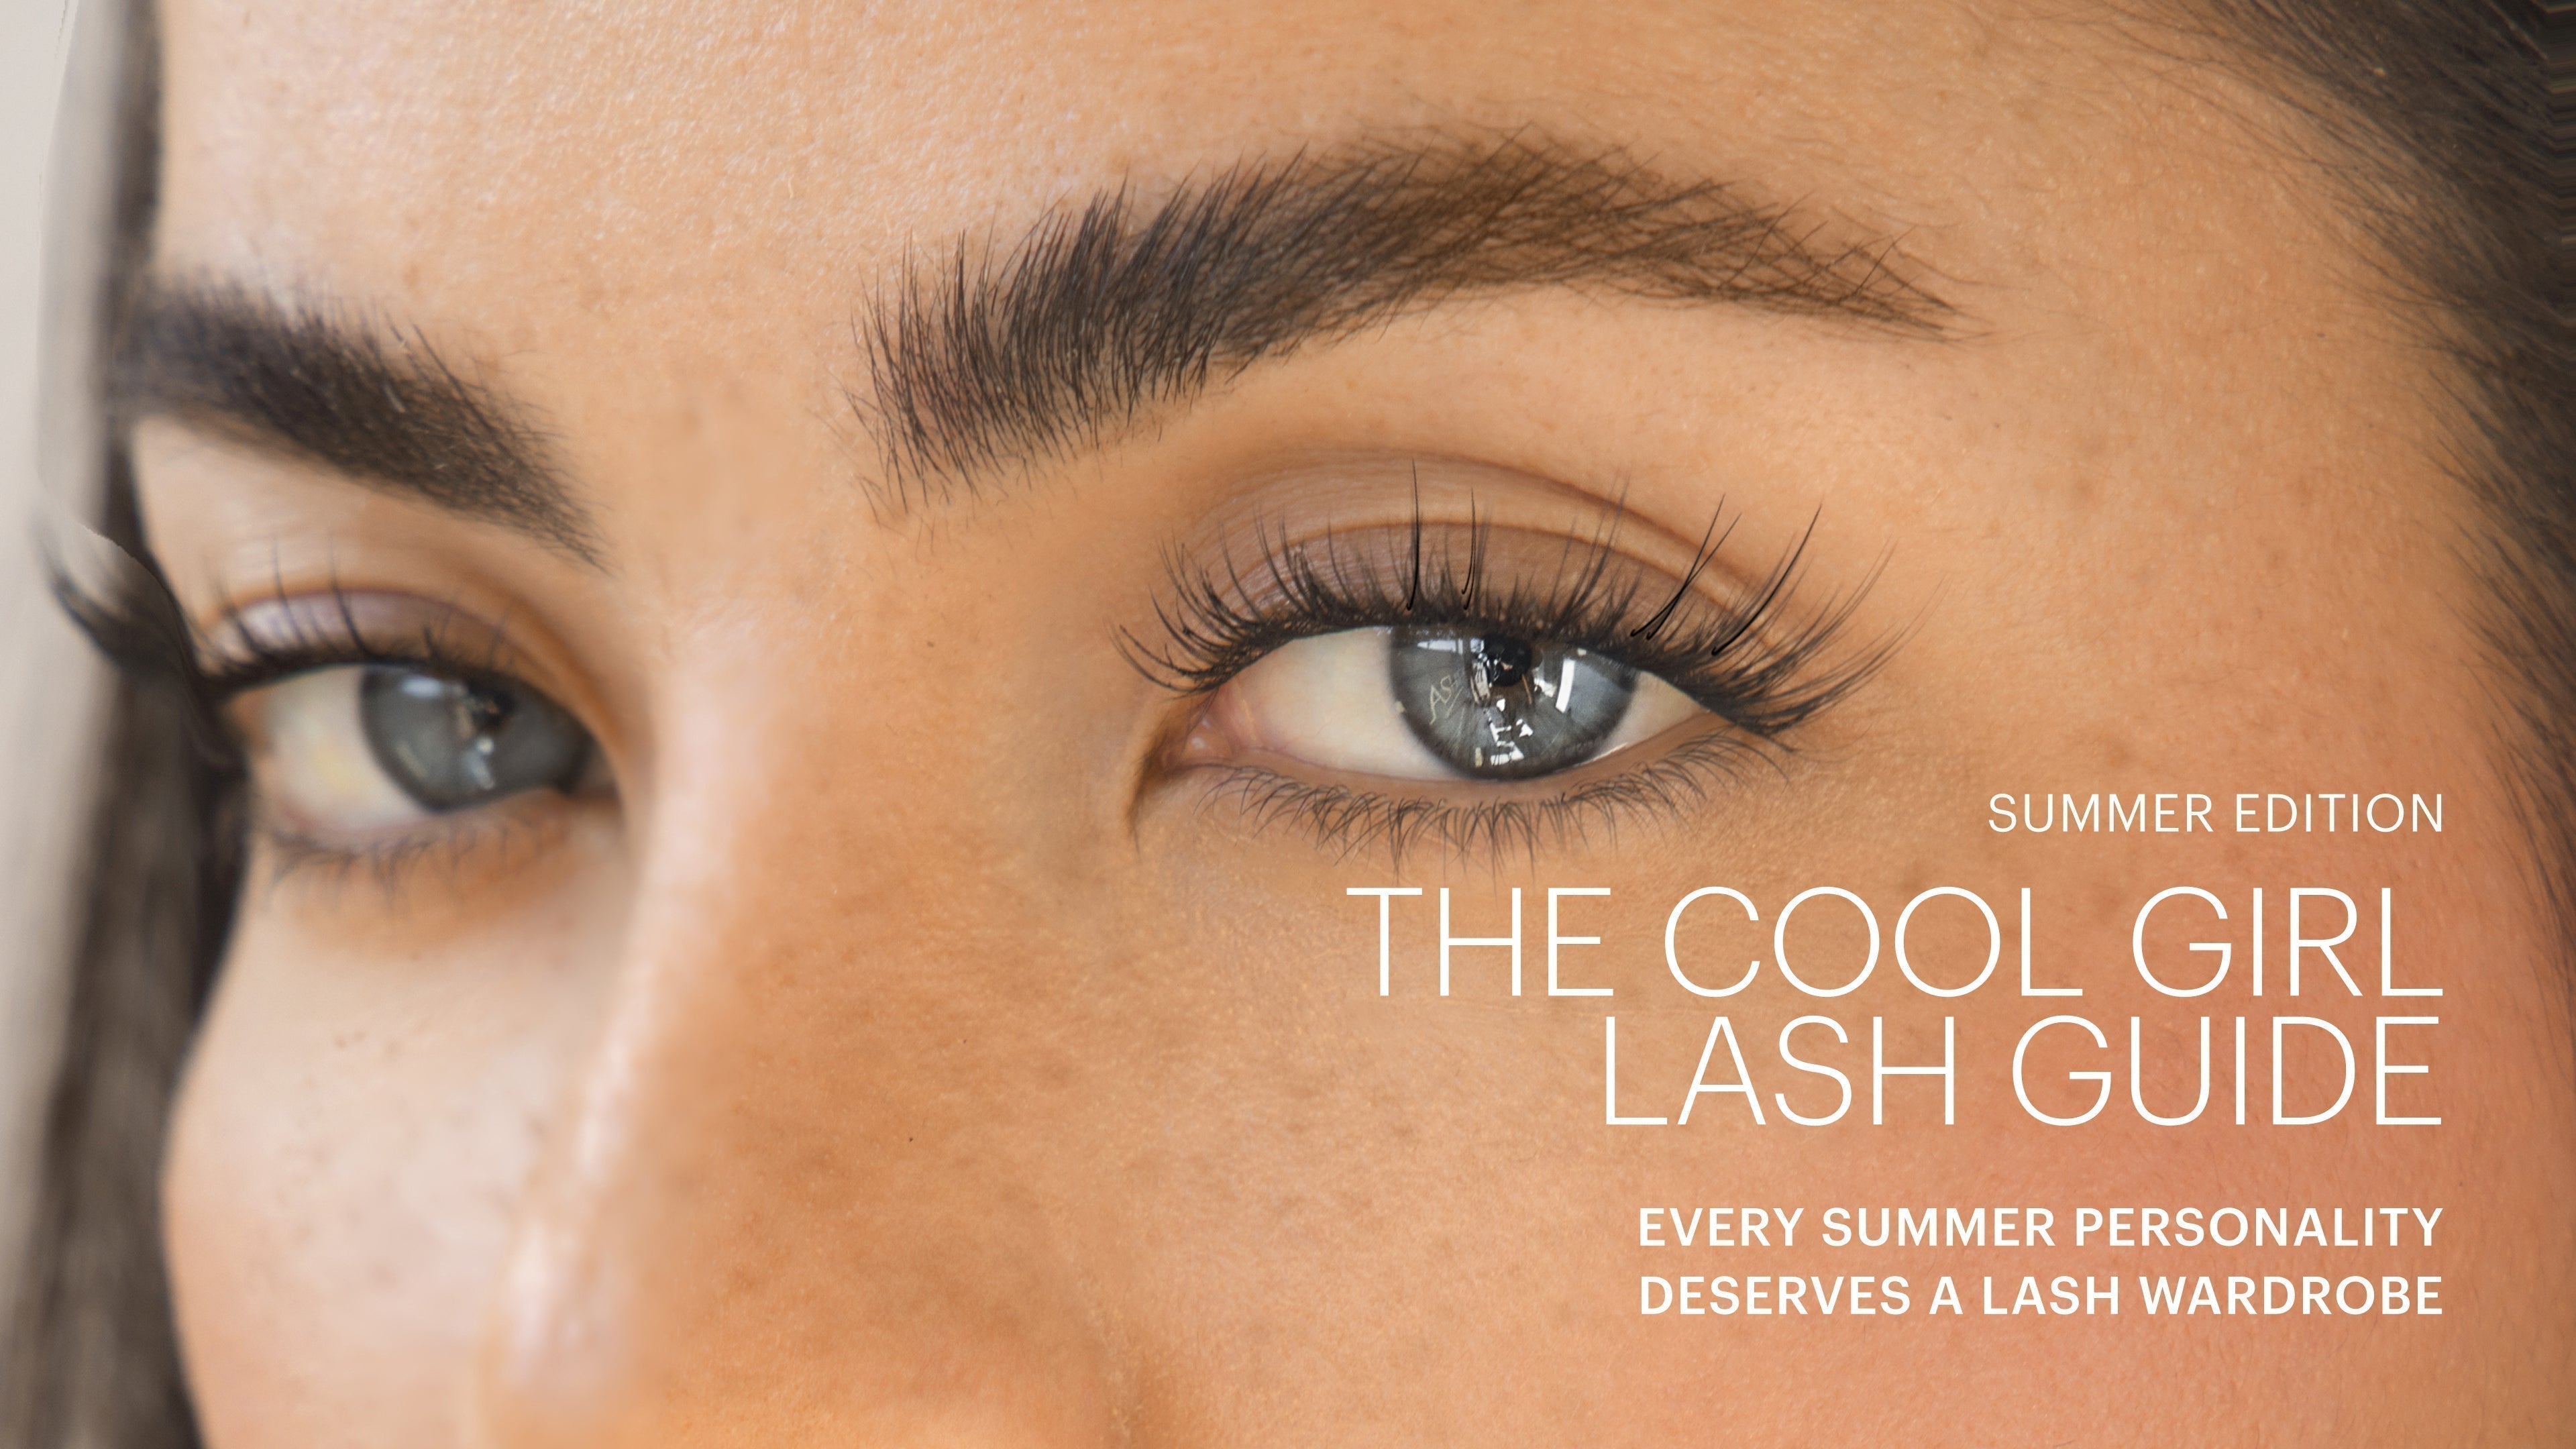
Pro tips for lashes: Lashify Gossamer lashes are your best bet for a professional and effortless look. Gossamers enhance the eye without any heaviness or a thick seam, thanks to Lashify’s patented Underlash™ technique where the lashes are applied on the underside of the natural lash.

STEP FOUR: FOUNDATION
Foundation brushes are essential for initial application of liquid or cream foundations. The use of the brush allows for better, overall coverage. Once you’re done, you can use a clean, wet beauty sponge by dabbing all over the face for blended, luminous coverage which is a favorite amongst pros. For best results, use foundations that are dewy to semi-matte in order to achieve a more natural, plump, even, and radiant complexion.
Pro tip: Always match the foundation from the chin and neck for the best, most precise color match. You do not want to see any lines of demarcation from the chin or jawline.

.
STEP FIVE: COLOR CORRECTION & CONCEALING
Color correction can help with shadows, evening out skin tone and reducing redness. Use a cream or liquid color correcting wheel/stick. Apply with a small airbrush-like concealer brush, mini wet sponge, or your fingers to warm up any cream product.
Color correction cheat sheet:
Green: corrects redness, acne, rosaceaOrange: corrects discoloration in darker skin tones
Pink: corrects discoloration in lighter skin tones
Yellow: corrects blue/purple in veins, bruises, under eye circles
When it comes to concealing, less is more. Concealing can be used for hiding blemishes, highlighting the under eye area and even out the skin on the high points of the face. Many also use concealers for cream contouring and highlighting.

.
STEP SIX: SETTING
Setting powders and sprays are essential to sealing the beautiful look you have created. Start by applying translucent powder to the under eye area and on the t-zone, focusing where oil produces and creasing can occur. Alternatively, setting spray provides a soft mist that can control oil, give luminosity, and provide longevity to the makeup look. It can also be used to help prevent makeup transfer and smudging on outfits. Spray 8-10 inches from the face and allow time to dry and set on the skin.

.
STEP SEVEN: BROWS
Brows frame the face, and therefore can completely transform the look you are trying to achieve. For brows the key is to fill in gaps where the brow hair is sparse and follow the natural arch of the brow without pressing the product too hard on the skin. A filled, sculpted brow is fantastic but can easily turn into a very heavy overly arched brow. Steer clear of using heavy amounts of concealer to “clean up” or shape the brow. Great products for brow application include brow pens with angled brushes, sharpened and retractable pencils, powders and sculpting waxes.

STEP EIGHT: BLUSH, BRONZER, HIGHLIGHT
Now that you have created a foundation, color corrected, and concealed any blemishes it is time to add some color to the face, enhancing your features.
Blush: apply on the apples of the cheeks and blend upward, slightly into the temples
Bronzer: apply using the number 3 technique, by sculpting from the forehead, to the cheekbones and the jawline… as though you are outlining the number three
Highlight: apply to the high points of the face where the light hits, creating lustre and glow

.
STEP 9: LIPS
A perfect pout often always calls for a nude lip with a touch of gloss in the center of the upper and lower lip. If you are looking to apply a colored lip start by lining the outside of the lips by creating a criss cross mark on the cupid's bow and then connect the rest of the lip. Afterwards, fill in the entire lip with liner and use less lipstick on the lips. Top it off with a sheer gloss to give a nice pucker to the center of the lips.

Now you have the basic knowledge needed to apply makeup like a professional. And, always remember that less is more when it comes to makeup application. A lot of steps does not equate to a lot of makeup or product. You can always add products as you go!