Are you interested in mixing it up with your eyelash extensions? Maybe you’re looking to try something new other than the standard classic eyelash extension. Well, read on to find out more about a very popular kind of lash extension — wispy eyelash extensions!
What Are Wispy Eyelash Extensions?
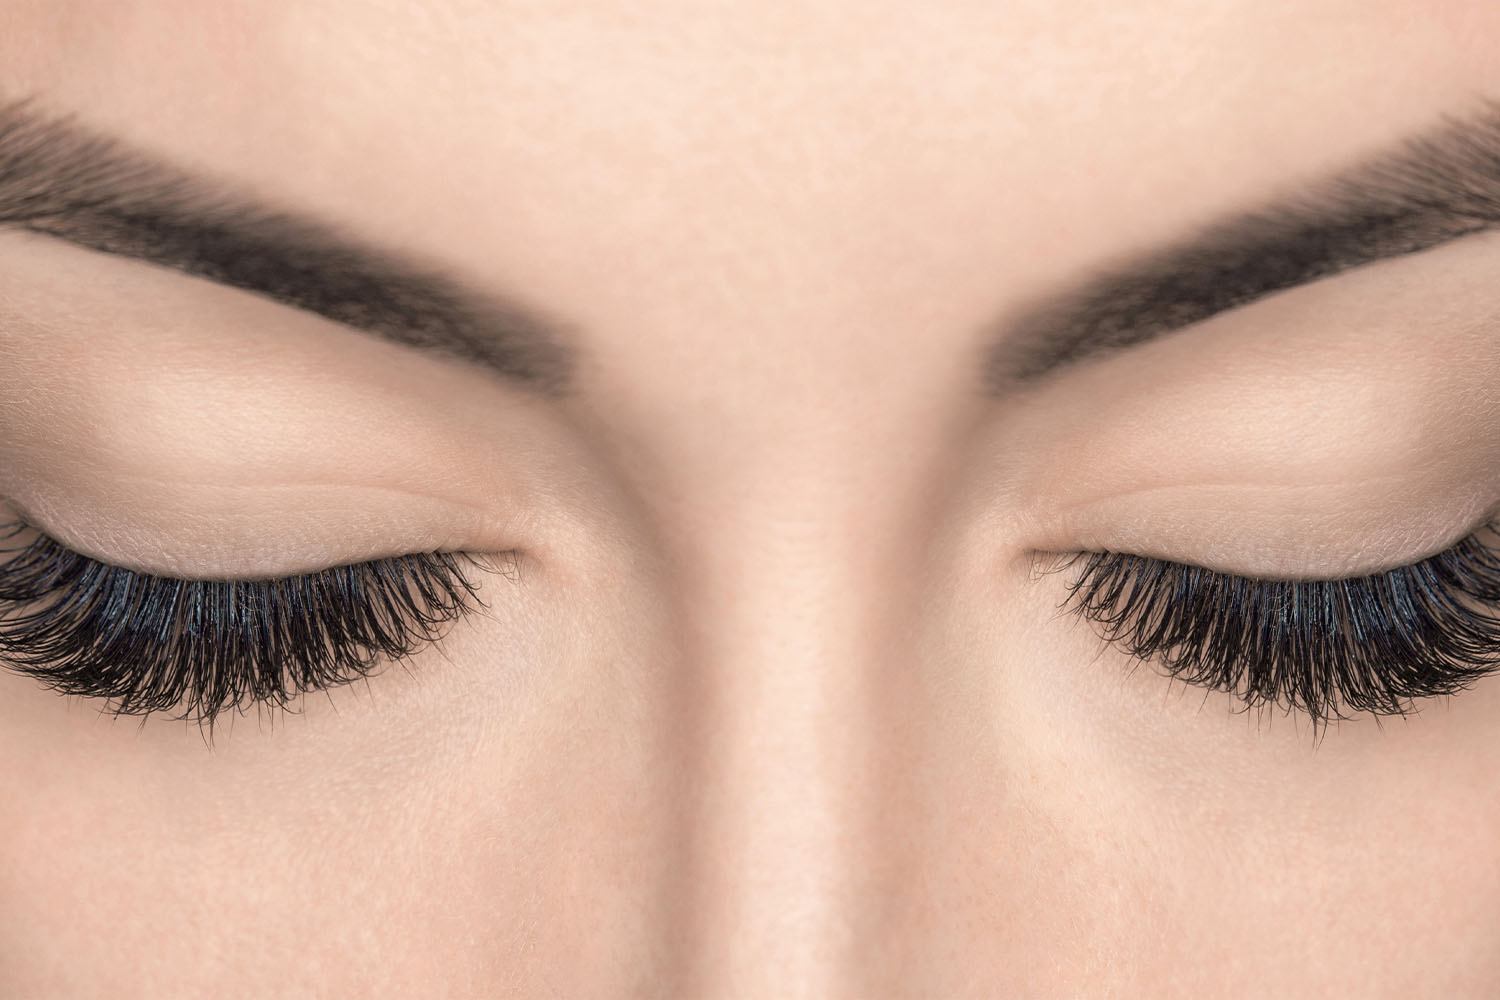
These kinds of lash extensions differ from classic eyelash extensions. While classic eyelash extensions offer a more uniform and subtle look, wispy eyelash extensions are a type of unique hybrid lash extensions that create a feathered and fluffy look.
They are actually inspired by celebrity Kim Kardashian. This is a common type of eyelash extension, as they appear quite similar to natural lashes while achieving a more dramatic makeup look.
Different Types of Wispy Lash Styles
One important thing to know is that there are multiple kinds of wispy lash extensions. These different styles are mega volume lashes, wispy volume lashes, wispy classic lashes, and wispy hybrid lashes.
- Mega Volume Lashes offer the most dramatic look of all the wish lash styles. For these extensions, you will want to use a mixture of short fans and bigger fans.
- Wispy Volume Lashes will give you the most density and volume. They contain a combination of different fans with 2-6 volume lash extensions in each one. With these wispy lashes, closed fans are used in order to create spikes.
- Wispy Classic Lashes are made by combining individual lashes of different lengths. These kinds of lashes are perfect for you if you want your own natural lashes to stand out more, providing length and volume, and subtlety.
- Wispy Hybrid Lashes combine the two methods of wispy volume and wispy classic lashes. Individual lash extensions can be used, along with volume lash extension fans in between them to create the spikes.
How To Create Wispy Lashes
Wispy eyelash extensions are created by combining individual eyelashes of varying lengths or by using a homemade lash fan that contains two to six eyelashes. If you’re using Lashify lashes, it’s a good idea to mix C curl and D curl lashes to get that alternating look.
1. Mapping/Spikes
First, you will need to undergo a process called mapping, which may be done by a lash tech. This is necessary so that you know where your lash spikes will go on your lashes.
The lash spikes will ultimately be the highest point of your lashes. Spikes are created by placing either two individual lashes or closed fans close to each other and are 2-3 mm longer than the main layer.
The spikes will also inform the shape of your lashes. There are various kinds of style shapes to choose from. These include:
- Kim K wispy lashes: Named after Kim Kardashian, this wispy eyelash style is one of the top trending options. These wispy lashes use lashes of alternating lengths, and they are more desirable if you want a bold, hybrid lash look.
- Open Eye: With these lash extensions, you will start with smaller 9 mm lashes for your inner corner, longer 10-12 mm lashes for the middle, and then back to 9 mm lashes for the outer corner.
- Cat Eye: These types of wispy lashes will begin with smaller lash lengths starting from your inner corner and will gradually elevate in length towards your outer corner. On the other hand, a Reverse Cat Eye style will start off fuller from the inner corner, but will not change too drastically in length toward the outer corner.
2. Fans
There are two different types of lash fans that you (or a lash artist) can use: volume and handmade fans.
Volume lash fans are for you if you want a bolder look. The ones that are pre-made, usually with a machine, are the recommended route if you are a beginner applying them yourself. These fans are also a time-saver when you visit a lash technician.
They consist of multiple lashes connected together with a base, which creates a “volume fan.” Then, a lash tech can just apply them directly onto your natural lashes.
Homemade lash fans, on the other hand, take a bit more practice and skill. These differ from volume fans because they offer the opportunity for creative freestyle. They are put together by hand by taking varying numbers of thin, lightweight lashes and placing them next to each other on the lash strip to create a fan.
Fans Tutorial
The number of lashes in each fan will depend on the kind of look you are going for — essentially, how fluffy you’d like your lashes to look in the end. Once you have mastered the application of volume lash fans, you can start with the application of homemade lash fans.
And once you are ready to go down that route of making your own DIY lash fan, this tutorial explains how you do it:
- First, you will need all of the tools necessary to assemble your lash fan: This includes tweezers (there are so many different kinds to choose from), the lash strip, and whichever kind of wispy lash extensions you have chosen.
- You will start the lash fan-creating process by taking your tweezers and using the tip to pick up your lash extensions from the strip that they come on — make sure not to grab too many at a time so as not to create a base that is too thick. The aim is about two to six per fan. Carefully place them back onto the sticky part of the strip — this will keep the base in place while you create the fan. It’s best to use a strip with a brown or orangish color so you can easily see the lashes when placing them onto the strip.
- Using the tip of the tweezers, gently pinch and squeeze the base of the lashes to spread them apart. If needed, adjust the space of each individual lash to make them more symmetrical. Once you are confident in the evenness of your fans, you can take them off of the lash strip and set them aside next to each other.
Of course, making your own wispy fans like this is quite a lot of work, and if you’re going to a lash tech, it can add up pretty fast. Luckily, you can get the wispy lashes of your dreams with Gossamer® Lashes without all the extra work.
3. Whispy Eyelash Application
Applying wispy lash extensions is generally done by a professional lash tech, but it‘s possible to apply them yourself, as long as you have the patience.
You will need a mirror — perhaps a smaller hand-held one that you can look down into to assist with the precision aspect. This tutorial walks you through how to apply your wispy eyelash extension set:
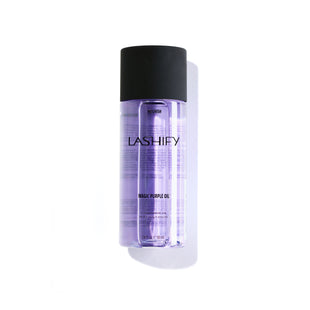
- First, prep the lashes with a cleanser. Lashify’s Pre-Cleanse Cleansing Water preps your lashes well by cleaning excess oil and debris from them. Simply use a cotton round or q-tip and sweep the cleanser onto your lashes to thoroughly clean them.
- After deciding where you want to place your spikes (they will be your longer curl lashes) start off with the inner corner of your lashes, as those can be the trickiest. Be careful and take your time with them. Begin to use your tweezers to pick up each fan.
- After that, begin to dip the base gently into the lash glue (you will want to use a waterproof bonding agent that is semi-permanent). Try to move quickly to place the lashes after you do this, so as to prevent them from drying out.
- As you are placing, look down into your mirror and gently place each spike, scooping the wispy lashes under the underside of your natural lashes. Be careful not to touch the skin on your eye to avoid irritation.
Traditional Wispy Eyelash Maintenance
- Wispy lash extensions can last up to three weeks. They will then begin to fall off on their own.
- The duration of the wispy lash extensions also depends on the quality of your own natural lashes.
- Avoid rubbing your wispy eyelashes.
- Avoid chlorinated water.
- Avoid oily products near your wispy lashes.
- Do not use mascara or an eyelash curler on your lashes.
- Do not sleep with your face towards your pillow.
Applying Lashify Wispy Eyelashes
If all the work of attaching individual lashes seems daunting to you, there’s another solution. Our Gossamer Lashes will give you the look of wispy eyelash extensions without the price of extensions or the mess of strip lashes.
Choose our Starburst™ Lashes for a spiky look, an Amplify set for super subtle glam, or the Stardust™ Lashes for wispy glam that’ll have you looking like a celestial goddess.
Wispy Lash Extensions – Key Takeaways
Hopefully, you’ve got more of an idea of what exactly wispy eyelash extensions are, the fun look you can achieve with them, and the process by which they are created. If you’re applying wispy lash extensions yourself, make sure you have all of the proper tools necessary and follow the tips in this article and other tutorials!
Sources:
A Lasher’s Guide to the Top Extension Tweezers | Beauty Launchpad
Wispy Lashes: All You Need to Know | PMU Hub
HOW TO: Handmade Volume Lash Fans (Lonely Fan Technique) | Youtube
Wispy Eyelash Extension - Strip Lash Full Tutorial | Youtube
Eyelash Extensions 101: Benefits, Cost, Styles, and More | Byrdie
