Mastering bonding techniques is the key to unlocking the full potential of the Lashify system. Whether you're a beginner just starting your lash journey or an experienced user looking to refine your skills, understanding how to bond effectively can elevate your lash experience, comfort, and longevity. From selecting the right bond for your needs to discovering pro tips for seamless application, exploring bonding techniques empowers you to create a flawless, long-lasting lash look that feels uniquely yours. Let’s dive into the art of bonding and discover how it transforms your Lashify results!
Remember, our bonds are very flexible so there should be no damage to your natural lashes. Lashify’s bonds never fully harden or cure. They do not contain any cyanoacrylates or formaldehyde, and are latex-free.
Check out Lashify’s How-to Page to learn all of their bonding techniques, Tips & Tricks and their library of lashes.
Daily Wear
If you feel like just wearing your lash map for the day and then out to dinner, you’ll really like the ease and flexibility of daily wear. This bonding technique uses our Whisper Light™ Flexible Bond™ with Microflex to achieve just that.
Step One:
Start with clean, dry lashes using our Pre-Cleanse Japanese Cleansing water to prep your natural lashes.
Step Two:
Take Whisper Light bond and brush through the lashes from root to tip in a thin, light coat. Take your blow tool and let the bond get tacky for 30 seconds.
Step Three:
Apply your gossamer® lashes 1-2 mm from the waterline.
Step Four:
Fuse your lash map for up to 10 seconds.
Pro tip: Fusing is a fundamental part of the system. It is important to have your natural lashes with the bond applied and the new gossamer® lash map all become one.
Optional: You can seal with our Water Poof™ sealer to help remove excess moisture throughout the day.
The Frosting Method™
The Frosting Method™. This is a great bonding technique for beginners and I love that this method uses Whisper Light Dual-Sided Bond™. The key with this technique is to make sure every lash is coated in thin, light coats of bond. Frosting (brushing) the Clear Whisper Light bond 1-2 mm from the waterline, up the lash, coats the natural lashes evenly and provides great hold without the buildup of black bond. The Whisper Light Bonds were meant to be layered. Applying each layer of bond and allowing it time to become tacky is key during this process. Brushing the bond up the lash will speed up drying time for the lashes to become tacky as well. It’s amazing!
Step One:
Start with clean, dry lashes using our Pre-Cleanse Japanese Cleansing water to prep your natural lashes.
Step Two:
Coat the natural lash with Whisper Light™ Black from root to tip in a thin, light coat. Allow 15-30 seconds for the bond to become tacky.
Step Three:
Apply dots of Whisper Light Clear in dots 1-2mm from the water line. Then take the flocked disposable applicator and brush the clear bond upwards to coat or “frost” the natural lashes. You will see the bond go from white to clear. Repeat this step again if needed.
Step Four:
Apply your gossamer® lashes 1-2 mm from the waterline.
Step Five:
Fuse your lash map for up to 10 seconds.
Shop the Frosting Method Disposable Brushes
Bondage®
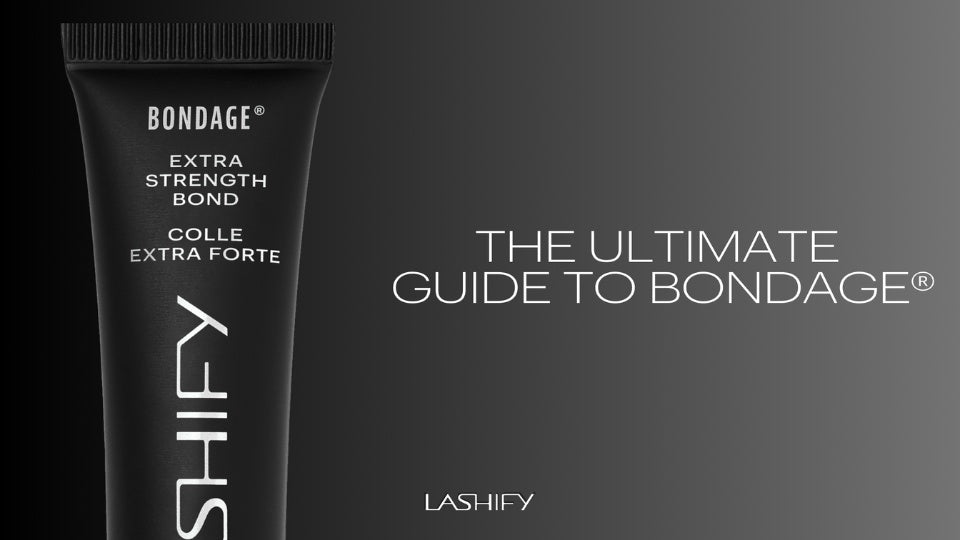
Lashify reformulated Bondage and it is better than ever and made in the US. Recommended for all users and safe for sensitive eyes, Bondage’s anti-microbial Charcoflex® formula is designed to withstand heat and absorb excess moisture. An improved wiper design removes all excess bond from the applicator so you’ll never over-bond again. The updated formula now has a more fluid consistency to give you a smooth application.
Step One:
Start with clean, dry lashes using our Pre-Cleanse Japanese Cleansing water to prep your natural lashes.
Step Two:
The new formula applies more like a mascara than the original, so don’t be afraid to apply a decent amount onto the lashes. For naturally thick or full lashes—one thin coat may be enough. Otherwise, brush a generous amount through the natural lash from root to tip, and be sure to coat every lash. Allow the bond to become tacky for approximately 10 seconds. This bond is amazing and gets tacky very quickly.
*Pro Tip: If you are not getting enough product onto the micro-mascara wand, you can widen the hole with the end of your Fuse Control™ Wand to allow more product to be dispersed onto the applicator.
Step Three:
Add a second layer. You can wiggle more product at the base of the natural lashes to build up a cushion and allow more hold for the Gossamer® lashes.
Step Four:
Apply your gossamer® lashes 1-2 mm from the waterline.
Step Five:
Fuse your lash map for up to 10 seconds.
Shop Bondage® Extra Strength Bond
Mrs. Bond™
Mrs. Bond is designed for advanced users. This bond contains Triple Threat Technology - quick dry, strong hold, and self-sealing so there is no need to apply Water Poof or Night Line Sealer afterwards. This bond is not recommended for sensitive eyes. The wiper is tight and the product has a thinner consistency, so there is plenty of product on the applicator.
Pro Tip: It is recommended to do one eye at a time and to avoid applying too much bond at the tip of the natural lashes. This helps with clumping of the natural lashes and proper application.
Step One:
Start with clean, dry lashes using our Pre-Cleanse Japanese Cleansing water to prep your natural lashes.
Step Two:
Apply a light coat of Mrs. Bond Triple Threat to the natural lashes then immediately brush through the bond and lashes with a spoolie. It’s very important to brush out excess bond, especially at the tips of the natural lashes, to ensure that it dries completely clear. Avoid direct contact with inner eye!
Step Three:
Apply a second coat targeting the base of your natural lashes, approximately 1-2mm away from the water line. Wiggle the applicator to build up a bit of product.
Step Four:
Apply your gossamer® lashes 1-2 mm from the waterline.
Step Five:
Fuse your lash map for up to 10 seconds.
Shop Mrs. Bond™
Any of these bonding techniques will deliver flawless application and hold your beautiful Gossamer® lash map in place. Sometimes you just need to test out which method is right for your eye chemistry and your direct environment. If you are just starting out, purchase a Control Kit - it has everything you need, including lashes and bond so that you can apply this patented DIY lash extension system perfectly!
Shop custom lashes with the Control Kit and Control Kit 2.0 today!
Watch the official bonding techniques from Lashify’s Founder and CEO:
