Are you looking to start your journey in applying false eyelashes? Maybe you’re tired of using mascara or a mundane eyelash curler. Maybe you don’t want to bother with the hassle of having a specialist apply lashes for you when you could probably just as easily do it yourself.
Maybe you want just the right amount of natural glamour added to your look. Either way, read on to find out more about classic eyelash extensions and how they’re applied, as well as learn about Lashify, the leader of do-it-yourself lash extensions.
What Are Eyelash Extensions?
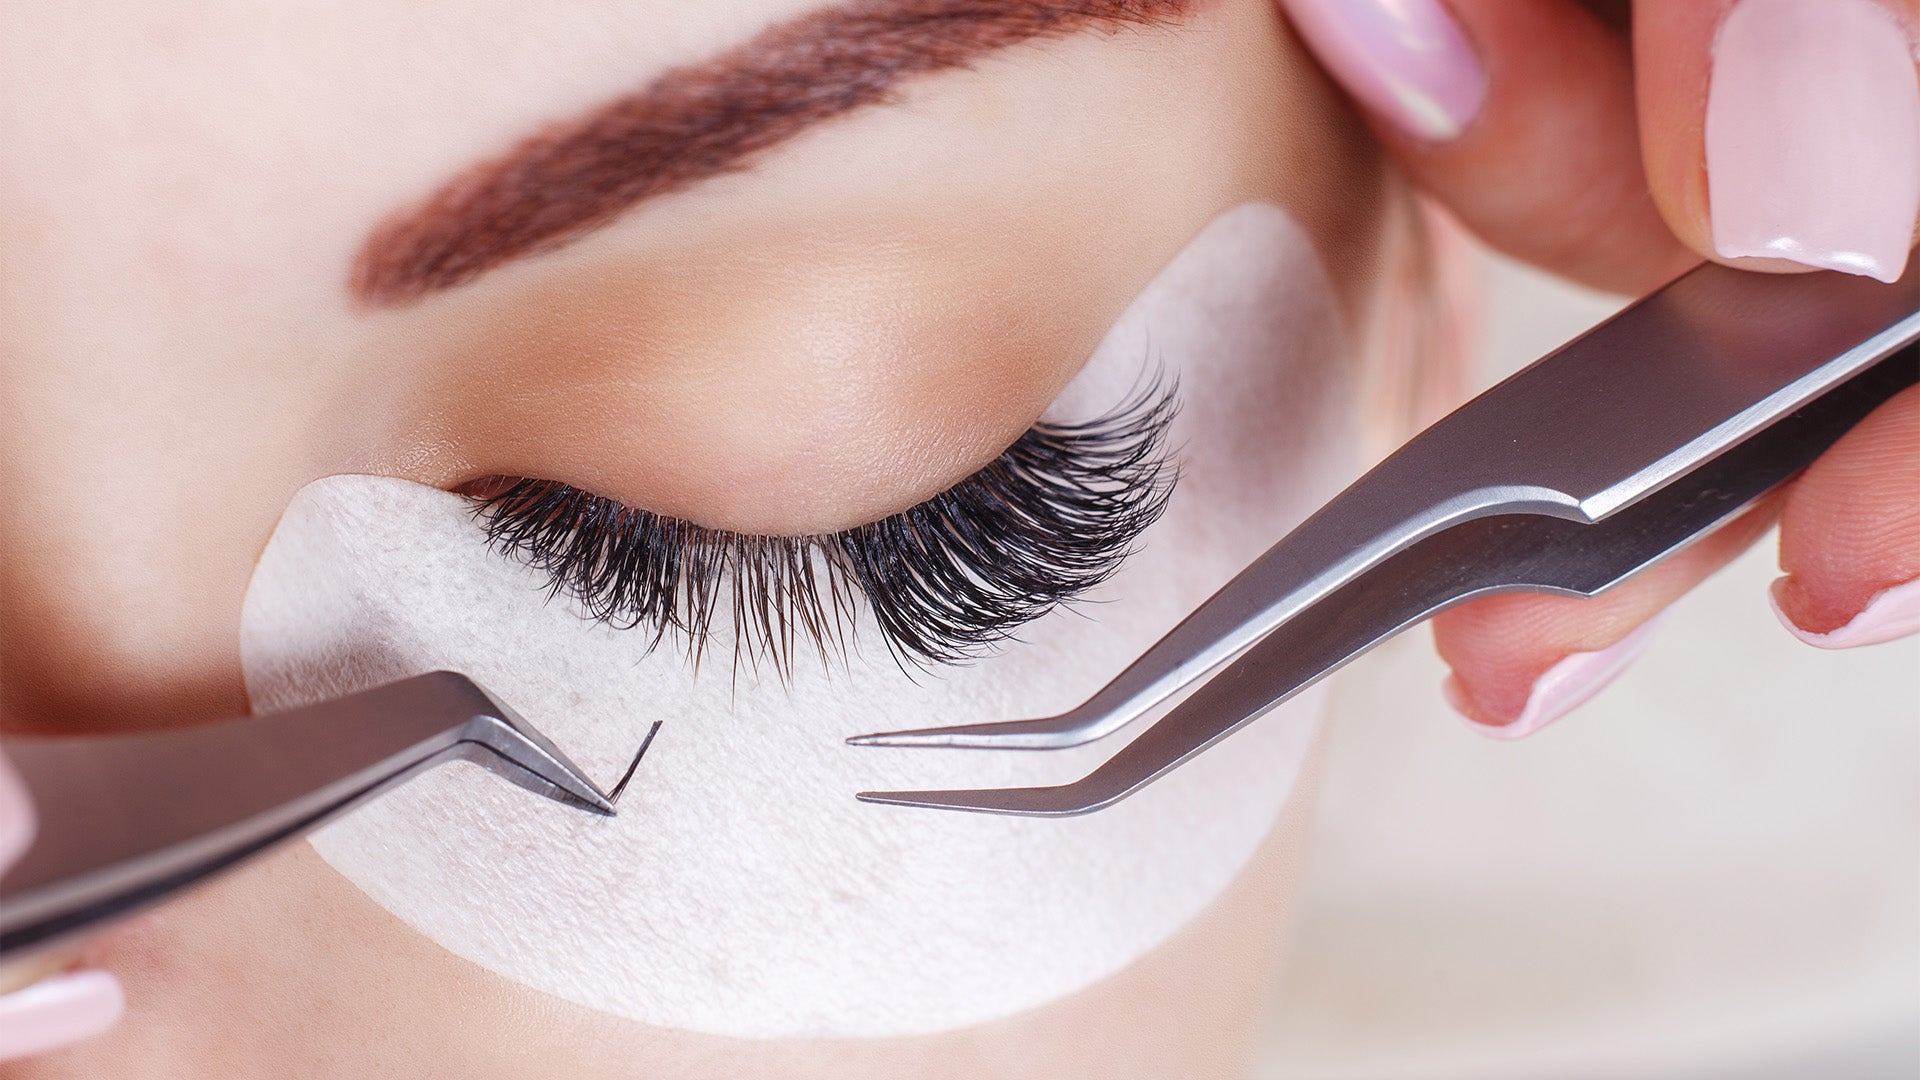
Eyelash extensions are fibers (often made of mink, silk, or a synthetic material) that are attached to your natural lash line in order to make them look longer, fuller, and overall more stunning. They’re usually applied by a professional and will last you around a month to six weeks.
Classic Eyelash Extensions vs. Volume Eyelash Extensions
In terms of that they’re going to look like, you have several different options when it comes to lash extensions.
Classic lash extensions, for example, are generally more subtle — they are applied in a one to one ratio, meaning that there’s one lash fiber applied for every natural lash you have. This usually leads to a delicate look that still adds a touch of glam to your every day life.
Volume lash extensions, on the other hand, focus on making your lashes look fuller and more fanned out. They’re usually applied in a three to one ration, meaning that there are three lash fibers for every one natural lash. Volume extensions give you a much more dramatic look which is especially lovely for special occasions.
Can You Do Eyelash Extensions Yourself?
In general, lash extensions are usually applied by an expert in a salon — but that can get expensive, time-consuming, and overall, just a bit annoying. Luckily, Lashify came prepared with a better solution.
Lashify’s Background
Sahara Lotti, our CEO, recognized that there were limited options when it came to methods of applying lashes. She knew there was a huge gap in the lash market — only strip lashes and extensions that were very time-consuming were available.
So, she decided to create a new type of lash extension that she would be able to put on herself, trying out various methods for the adhesion process.
Fortunately, after trying these various methods, Lotti was able to not only create a new Underlash™ method but also create over 175 patents and 50 worldwide trademarks. Lashify lashes are specifically made to emulate natural lashes in a gorgeous way that looks way better than strip lashes! Our goal with this groundbreaking lash technology is to make beauty feel easy and within your own control.
We know what some of you might be thinking. This is all awesome and everything, but I know absolutely nothing about how to actually apply lashes. No worries at all. We’ve got the tips for you, and with practice, you will be putting on your lashes like a pro in no time. Let’s get started!
Where Do I Start When It Comes to Lashes?
First, for the ultimate experience, we suggest you get a Control Kit. The Control Kit is perfect for those who are just beginning with the lash-applying process. In it, you’ll find all the products and tools necessary to put lashes on yourself.
Start by choosing what color you want your kit case and wand color to be. Next, choose what kind of style you want your lashes to be — we have three different styles of lashes available. Last but not least, choose what length you want your lashes to be. This will be based on both the shape of your eyes and eyebrows.
Estimate or try to directly measure the space between your pupil and the highest point of your eyebrow in inches. If the measurement is one inch or slightly more than that, then 10 to12 or 12 to14 millimeters should work best for you lengthwise.
Level 1 Application
Our in-house lash expert Jill Medicis shared her secret tips in a video tutorial, breaking down how beginners can use the tools in the control kit to apply lashes!
First, Jill advises you to practice holding your Fuse Control Wand in a way that’s comfortable for you.
Next, prep your lashes in order to remove any dirt, oil, ir makeup. This helps with the application process and ensures that your lash extensions last longer. You can use the Pre-Cleanse Cleansing Water, or you can just wash your face before application.
Do not use witch hazel or micellar cleansing water to prep, because that can impact how well the lashes adhere. Make sure to allow your lashes to dry before you begin the application.
After your lashes have completely dried, you can begin to apply the Dual-Sided Whisper Light Bond, which is perfect for beginners. Don’t overdo it, though! Just brush the bond through your lashes gently, preferably with a spoolie, to ease out any clumps.
After that, you may use Lashify’s Blow Speed Dryer, or you can use your hand or a paper — you will have to just wait a bit longer for them to dry.
Some Extra Tips for Applying Your Lash Extensions
Once your lashes have dried once again, use the back of your finger to glide along your lashes. When you feel that the bond has begun to stick, you are ready for the next layer of the application.
Jill recommends the Clear Whisper Light for beginners as a second layer of application as well. If you decide to take it to the next level with this second layer, you will want to softly apply 1 to 2mm above your waterline (this is where the lashes will later be applied) and then allow it to dry. When it turns clear, then you are finally ready to apply the lashes.
Applying the Lashes
Finally, the exciting part!
Use your fingers to gently remove the lashes from the cartridge. Then, use your Control Wand to pick the lashes up as close to the tip as possible (the opposite end of the long spine). We suggest starting from the outer corner or middle part of your lashes as a beginner and getting a sense of what feels comfortable for you.
After you pick the lashes up and decide where you want to start applying them, begin to angle the lash so that it meets the way your eye naturally curves. Utilize the mirror inside your Control Kit and look down into it as you do this. Gently place the spine onto the clear bond line that you created.
Another great tip is to look at the underside of your lash, then scoop the Gossamer lash under so that you can gently place the spine onto your natural lash and then slightly pull back.
This will help to secure the spine to your own lash. Also, try to be as stable as possible when placing the lashes. Jill advises that you can use your ring finger as an anchor, placing it about an inch under your eye, or you can also place your elbow down on the table.
Furthermore, make sure to place the spine of the lashes slightly above your waterline (again, 1-2 mm). According to Jill, this is for both comfort and longevity. You can leave just a little bit of room on both the inner and outer corners of your lashes, which will help make for an even more natural look.
Extra Tips for Applying Classic Eyelash Extensions
When applying lashes to the inner corner of your non-dominant eye, hold your wand in a way that lines the eyelash up with the curve of your natural lash, using your nose as an anchor this time.
The awesome thing about the Fuse Control Wand is that it’s specifically designed to angle perfectly against your cheekbones. Using the wand, gently press down on the spine of the lashes to fuse everything together and hold for three to five seconds.
If the lash gets caught, just gently blink your lash away from the wand instead of pulling the wand away from the lash. You can then do what is called a “reverse fuse” (by holding the wand downward and then using the tip to press down across the spine). The curve of the wand should face outwards in order to do the reverse fuse properly.
After reverse fusing, wait at least half an hour before applying the Glass Finishing Coat. You can use either the ball at the tip or the actual spoolie to brush through the lashes.
If you use the ball, push it across the spine with two to three swipes. If you use the spoolie, brush it about halfway through the lashes. Jill explains that this will create a water-resistant effect for the lashes.
Congrats on Applying Your First Lash Set!
Voilà, there you have it! You’ve just applied your first lash set. Nice job!
Now trust us, we get it — this type of classic eyelash extension can seem overwhelming at first. But we guarantee that with patience and practice, you will get the hang of the lash-applying process. Just take a deep breath, take a break if you need to, and take the time to use the tools available to you.
Wrapping Things Up
The many benefits of Lashify’s DIY lash extensions include the fairly easy application process, the high quality of the products, their longevity, and the fact that they are very eye-friendly.
There you have it — Lashify may not necessarily be the only route to go when it comes to lash extensions, but it absolutely is the best. How can it not be, when it completely kicked off the idea of DIY lashes in the first place?
We hope you’ll take Lashify into consideration when contemplating the onset of your lash journey.
Sources:
Lashify Review 2022: DIY Lash Extension Pros, Cons & Photos | Good Housekeeping
Eyelash Extensions Guide: the Cost, How Long They Last, Before and After Photos | Harper's Bazaar
Curious About Eyelash Extensions? Here’s What You Should Know | NY Times